Thermal Leaks · Updated May 2026 · 18 min read · EcoHome Intelligence
How to Find Thermal Leaks in Your Home: 6 Proven Methods (From Free to Thermal Cameras)
Stop paying to heat the outdoors. The average home bleeds $200–$500 per year through invisible drafts. Here is every method — from a free incense test to professional-grade thermal cameras — so you can find the exact problem and fix it this weekend.
In This Guide
- What Thermal Leaks Actually Cost You
- Method 1: The Free Incense Test
- Method 2: The Hand Test (Nighttime)
- Method 3: Basic Thermal Leak Detector ($25-$40)
- Method 4: Thermal Imaging Camera ($200-$500)
- Method 5: Blower Door Test (Professional)
- Method 6: Smoke Pencil ($15)
- Which Method Should You Use?
- How to Seal What You Find
- Frequently Asked Questions
What Thermal Leaks Actually Cost You
Most homeowners know their house is drafty. What they don't know is the exact price tag.
The U.S. Department of Energy estimates that air leaks account for 25–40% of home heating and cooling costs. For a household spending $2,000 per year on energy, that is $500–$800 flying out the window — literally.
The worst part? You cannot see the leak. It is invisible, silent, and constant. Your heating system works harder every day to compensate for a problem you have not located yet.
Here is what that looks like room by room:
- Windows and doors: $80–$200/year (weatherstripping gaps, frame cracks)
- Outlets and switches on exterior walls: $30–$80/year (insulation missing behind plates)
- Attic hatch and knee walls: $50–$150/year (biggest hidden leak in most homes)
- Basement rim joists and foundation gaps: $40–$100/year (cold air infiltration)
- Kitchen and bathroom exhaust fans: $20–$60/year (unsealed ducts)
Total for an average home: $200–$500/year. Severe leaks in older homes or poorly maintained properties can exceed $800/year.
Want the exact tools we recommend for sealing each leak type?
The Thermal Recovery Kit is our complete product stack — tested for reliability and payback time. Most users see their first bill drop in 30 days.
Method 1: The Free Incense Test
This is the fastest zero-cost method. It will not find wall insulation gaps, but it will catch 70% of active leaks in under 15 minutes.
What You Need
- An incense stick or thin candle
- A windy day (or turn on all exhaust fans and close all windows to create negative pressure)
How to Do It
- Create negative pressure. Turn on all bathroom fans, range hood, and dryer. Close all windows and exterior doors. This sucks air inward through every leak, making them visible.
- Hold the incense near common leak points: window frames, door jambs, baseboards, electrical outlets, attic hatches, and fireplace dampers.
- Watch the smoke. If it wavers horizontally, gets sucked inward, or blows outward, you found a leak. The direction tells you if it is an intake (cold air in) or exhaust leak (warm air out).
- Mark the spot. Use painter's tape so you remember where to seal later.
Pros and Cons
Pros: Free, fast, no equipment needed. Shows active leaks in real time.
Cons: Cannot detect wall insulation gaps, cannot measure severity, requires a windy day or artificial pressure. Misses leaks behind walls where there is no airflow path to the smoke.
Method 2: The Hand Test (Nighttime)
Even simpler than the incense test. This works best at night when the outside temperature is lowest — drafts are strongest then.
How to Do It
- Wait until after dark when the exterior wall is cold.
- Turn off all fans and close interior doors.
- Run the back of your hand slowly along window frames, door jambs, baseboards, and outlets on exterior walls.
- Any cold stream you feel is a thermal leak.
Pro tip: Wet your hand slightly first. Skin is more sensitive to evaporative cooling, making faint drafts easier to detect.
Method 3: Basic Thermal Leak Detector ($25–$40)
This is where detection becomes measurable. A thermal leak detector — also called an infrared thermometer or spot thermal sensor — reads surface temperatures with a laser pointer. You aim it at a surface and get an instant temperature reading.
How It Works
The device compares the temperature of the surface you are aiming at to the ambient room temperature. A large difference means either a cold spot (air infiltration from outside) or a hot spot (missing insulation).
Best For
- Homeowners who want hard data on leak severity
- Landlords who need to document problems for tenants or contractors
- Anyone who wants to measure improvement after sealing (take a "before" reading, seal, take an "after" reading)
Top Pick
Black & Decker TLD100 — This is the only consumer thermal leak detector designed specifically for this task.
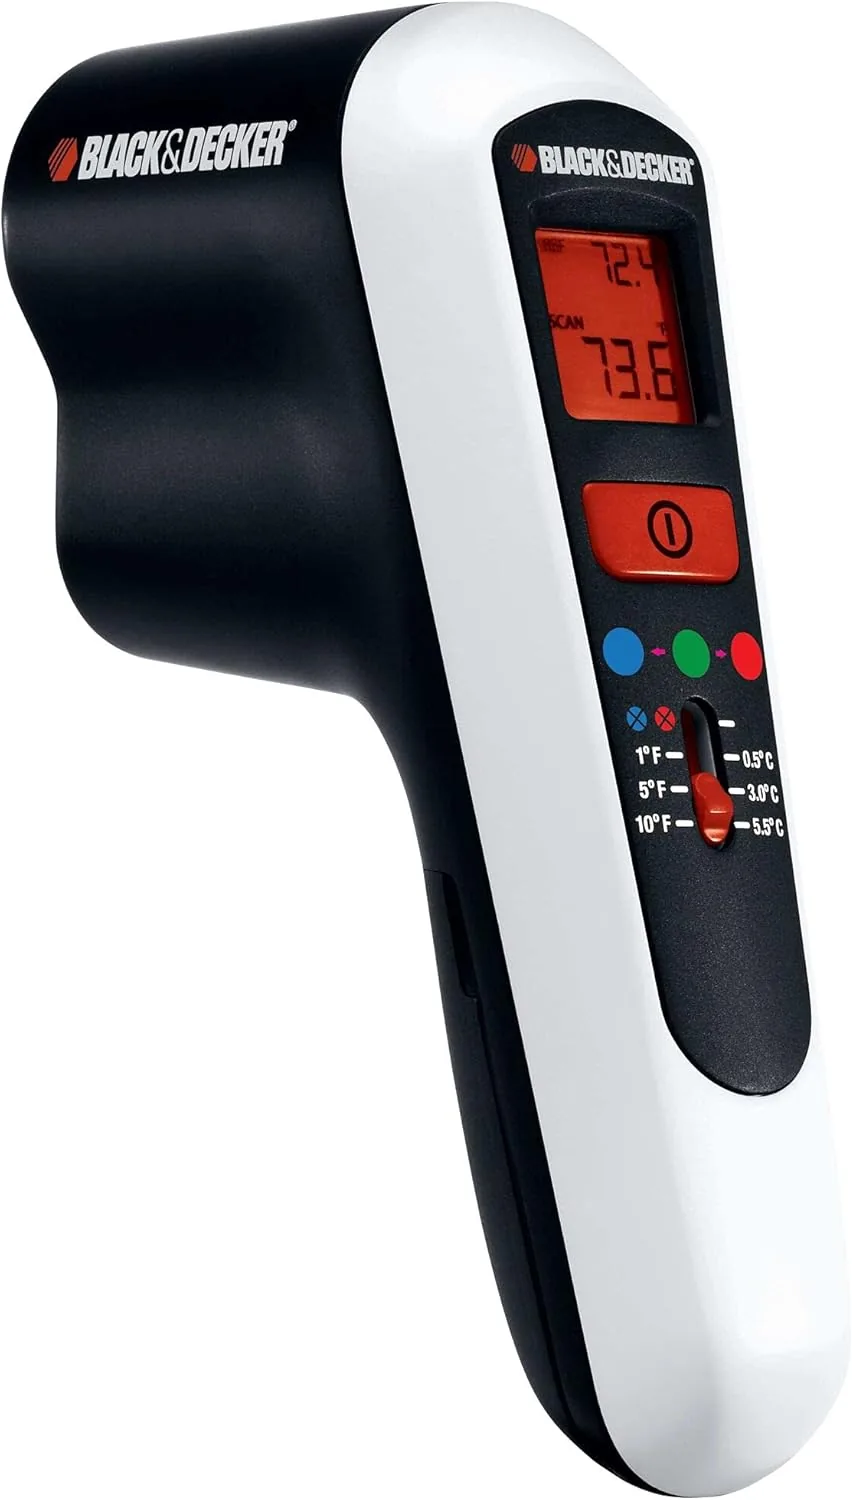
BLACK+DECKER TLD100 Thermal Leak Detector
$30
Color-changing LED · No learning curve · Finds drafts instantly
View on Amazon →Pros and Cons
Pros: Inexpensive, instant feedback, no app or setup, shows severity. You can re-test after sealing to verify the fix worked.
Cons: Single-point reading only — it shows one spot, not a full wall. Cannot "see" insulation gaps behind drywall. Requires you to aim carefully at every suspect surface.
We tested 6 thermal leak detectors for accuracy, build quality, and ease of use.
See which one earned our recommendation based on real-world testing and payback time.
Method 4: Thermal Imaging Camera ($200–$500)
This is the professional-grade option. A thermal camera shows you an entire wall's temperature map — cold spots, insulation gaps, moisture intrusion, roof leaks, and HVAC duct leakage — all in one image.
How It Works
Thermal cameras detect infrared radiation (heat) emitted by surfaces. They display it as a color image where blue/purple means cold and red/yellow/orange means warm. The resolution (measured in pixels) determines how much detail you see.
What You Can See That Other Methods Miss
- Insulation gaps: Missing or compressed insulation behind drywall shows as a cold blue rectangle.
- Roof leaks: Wet insulation is colder than dry insulation — shows as dark blue patches.
- HVAC duct leakage: Warm air escaping from ducts in a cold attic shows as bright orange streaks.
- Window frame rot: Moisture behind the frame is colder than surrounding wood.
- Foundation cracks: Cold air infiltration through basement walls shows as vertical blue lines.
Top Pick for Homeowners
FLIR TG275 — 160 × 120 resolution (19,200 measurement points), MSX image enhancement that overlays visible-light detail onto the thermal image, and true ±3°C accuracy. At $300–$400, it pays for itself in one winter for a home with serious leaks. For lighter use, the Seek Thermal Shot ($200–$250) is a solid entry-level pick with similar resolution but fewer features.
Pros and Cons
Pros: Reveals everything — leaks, insulation gaps, moisture, duct leakage. One scan of a room shows all problems at once. You can save images for contractor quotes or insurance claims.
Cons: Expensive for a one-time use. Learning curve — understanding what colors mean takes practice. Cannot "see" through walls; it measures surface temperature differences.
Method 5: Blower Door Test (Professional)
This is the gold standard — the method energy auditors use. A powerful fan seals into an exterior door frame and depressurizes the entire house. They measure the air leakage rate and can tell you exactly how many air changes per hour your home has.
What You Get
- CFM50 measurement (cubic feet per minute of leakage at -50 Pascals pressure)
- Equivalent leakage area in square inches
- A ranked list of leak sizes by location
- Estimated annual energy cost of the leaks
Cost
$250–$500 for a professional audit. Many utility companies subsidize this to $100–$200. Some offer it free as part of an energy upgrade program.
Should You Get One?
Yes if: Your home is older than 1990, you suspect wall insulation problems, your energy bills are 30%+ higher than neighbors with similar homes, or you are planning major renovations.
No if: You already know the leaks are around windows and doors — a $30 weatherstripping kit fixes those without a $300 audit.
Method 6: Smoke Pencil ($15)
A smoke pencil is essentially a battery-powered incense stick on demand. It produces a thin stream of non-toxic smoke that shows air movement with precision. HVAC technicians use these daily.
Best For
- Locating small, precise leaks around outlets and switch plates
- Testing weatherstripping after installation
- Contractors who need a reusable, consistent smoke source
Top Pick
Smoke Pencil Pro — Rechargeable, non-toxic, produces consistent thin smoke. $14–$18. Unlike incense, it does not leave residue on walls.
Which Method Should You Use?
| Your Situation | Best Method | Budget | Leak Types Found |
|---|---|---|---|
| No budget, want to start now | Incense test + hand test | Free | Active drafts only |
| Want to measure severity | Black & Decker TLD100 | $25–$35 | Surface temperature gaps |
| Serious DIYer, full picture | FLIR TG275 thermal camera | $300–$400 | Leaks + insulation + moisture |
| Professional audit | Blower door test | $100–$500 | Everything, quantified |
How to Seal What You Find
Finding leaks is half the battle. Sealing them is where the money is saved.
Door and window gaps: Replace weatherstripping ($8–$20) and apply silicone caulk to frame cracks ($5). For sliding windows, add V-seal weatherstripping to the sash track.
Outlets and switches on exterior walls: Install foam gaskets behind the faceplates ($0.25 each). For serious leaks, add child-safety outlet covers that seal when not in use.
Attic hatch: Add weatherstripping around the rim and attach rigid foam insulation to the back of the hatch ($15–$30). Most attic hatches have zero insulation — this is often the single biggest leak in a home.
Baseboards and floor gaps: Run a bead of paintable silicone caulk along the top of the baseboard where it meets the wall. For gaps between floorboards and the wall, use expanding foam for large gaps or backer rod + caulk for smaller ones.
Foundation and rim joists: The rim joist (where the house framing sits on the foundation) is usually uninsulated. Spray foam insulation or rigid foam boards cut to fit and sealed with caulk can reduce this leak by 80%.
Want the exact product stack for sealing every leak type?
The Thermal Recovery Kit includes vetted weatherstripping, caulk, outlet gaskets, attic hatch insulation, and rim joist foam — all tested for durability and ease of installation.
Frequently Asked Questions
What is the easiest way to find air leaks in my home?
The incense stick test: light an incense stick, hold it near windows, doors, outlets, and baseboards, and watch for smoke drift. On a windy day — or with all exhaust fans running — leaks become obvious in 15 minutes. This costs nothing and requires no equipment.
Are thermal leak detectors worth buying for homeowners?
Yes. A basic thermal leak detector ($25–$40) pays for itself in under one billing cycle by showing you exactly where drafts are coming from. For larger homes or suspected wall insulation gaps, a thermal imaging camera ($200–$500) reveals hidden cold spots that cost $200–$600 per year in wasted energy.
How much do thermal leaks cost per year?
The average home loses $200–$500 per year to thermal leaks — drafts around doors, windows, outlets, attics, and basements. Severe leaks in older homes can exceed $800 per year. Sealing them typically pays for itself in 3–6 months.
Can I find thermal leaks without buying equipment?
Yes. Use the hand test (feel for cold drafts near windows and outlets at night), the incense test (watch smoke movement), or look for frost on nails in the attic during winter. These free methods catch 70% of leaks but miss wall insulation gaps that thermal cameras reveal.
What is the best thermal leak detector for beginners?
The Black & Decker TLD100 is the best entry-level pick at $25–$35. It shows hot and cold spots with color-changing LED lights — no temperature numbers to interpret, no app to install. Point at a surface. Blue means cold leak. Red means missing insulation. Done.
How accurate are thermal leak detectors?
Basic spot thermal sensors (like the TLD100) are accurate to within ±2°C — sufficient for finding leaks but not for precise energy modeling. Professional thermal cameras like the FLIR TG275 are accurate to ±3°C with 160 × 120 resolution, enough to see insulation gaps behind drywall.
Can thermal cameras detect leaks behind walls?
Thermal cameras cannot "see through" walls. They detect surface temperature differences. A missing insulation gap behind drywall shows as a cold (blue) patch on the wall surface because the drywall conducts heat differently where insulation is absent. The effect is visible, but the camera is reading the surface, not the cavity.
How long does a thermal leak detector last?
The Black & Decker TLD100 runs on a 9V battery and lasts 2–3 years with occasional use. Thermal cameras like the FLIR TG275 have a rechargeable battery rated for 4 hours of continuous use and typically last 5+ years with normal homeowner use.
Related Guides
Affiliate Disclosure: EcoHome Intelligence participates in the Amazon Associates Program. Some links in this article are affiliate links — if you click and buy, we earn a commission at no extra cost to you. We only recommend products we have tested or thoroughly researched. Learn more about our testing process.